This gluten-free challah bread recipe is light, delicious and so fun to make!
Jump to RecipeAbout Challah Bread
Challah is a special bread of Ashkenazi Jewish origin. The bread is usually eaten on ceremonial occasions, like Shabbat or Rosh Hashanah. Challah bread is an important element of the Jewish culture and a staple amongst hundreds of years of holiday celebrations and traditions.
Traditionally, Challah is made of a eggs, white flour, water, sugar, yeast, oil, and salt. There is also a recipe known as "water challah" that's made without eggs and has a French baguette like texture, almost resembling that of brioche bread. Today, there are countless different recipes using a variety of flours and different form of sugars, such as honey, molasses, or maple syrup. Challah bread can also have raisins or saffron in it. Once the dough is braided, it's topped with an egg wash to give the final result a golden brown sheen. Often, the bread is topped with poppy seeds or sesame seeds.
How to Make Challah Bread
Like any gluten-free bread, making challah bread takes time and patience. This recipe may look intimidating but don't let the time variable scare you off. This bread is worth the wait! This gluten-free challah starts the same way as most bread recipes do: with yeast. Yeast is the key ingredient that allows the bread to rise once the dough is formed. Without yeast, the dough would harden when cooked. The two keys to ensuring the yeast is activates is making sure the liquid isn't so hot that it kills the yeast. And second, ensuring the yeast has enough time to properly activate.
So first, warm the water in a glass container. Once warm, stir in the cane sugar until dissolved. The sugar is the food source of the yeast. This ensures the yeast can thrive in the environment and activate. Then, once the water is between 105-110 degrees Fahrenheit, add the active dry yeast. Stir to combine, then allow to sit for at least eight minutes. After a few minutes, the yeast will begin to activate. You can tell the yeast has activated when the mixture begins to smell fragrant (almost like beer) and it looks foamy or bubbly on top.
While the yeast is activating, add the wet ingredients to a large bowl on a stand mixer. Combine the dairy-free plain yogurt, apple cider vinegar, canola oil, maple syrup and two beaten eggs. Here, canola oil takes the place of butter because under Jewish law, meat and milk can never be eaten together. This follows the Jewish dietary regulations of kashrut, which details kosher foods. To follow kosher, dairy-free yogurt is also used. Once the yeast has activated, pour the mixture into the bowl with the other wet ingredients. Use a paddle attachment to combine the ingredients on low speed.
The Secret to Perfect Texture
Next, it's time to combine the dry ingredients in a large bowl. This recipe uses King Arthur's Gluten-Free All-Purpose Flour. This flour is ideal for our gluten-free challah bread because it's a beautiful blend of gluten-free flours, which yields a beautiful texture. Because it does not have xanthin gum, a little must be added to help bind our ingredients. But the real key to perfect gluten-free texture in this challah bread? Psyllium Husk Powder! This is a crucial ingredient when it comes to gluten-free baking because it gives the dough the flexibility it needs to stretch, bend and rise. Without it, we'd be unable to ultimately braid the challah bread. Furthermore, it would crack when baked.
Once the key ingredients to our dry ingredients are added, there are a few more left to add. Sprinkle in a little more sugar, salt, baking powder, and baking soda. Use a fork to combine the dry ingredients. Then, sift in half of the ingredients at a time to the bowl. Use the paddle attachment to mix on medium speed. When the first half of the dry ingredients is incorporated, you may then add the second half of dry ingredients to the stand mixer. Mix again to incorporate until a soft dough has formed.
Then, use a stand mixer with a dough hook to take the dough from soft to a firmer ball of dough. Switching from a paddle attachment to a dough hook will also help knead the dough; which, saves you time!. If you don't have a stand mixer, you can use an electric mixer or you can use your hands. If you're going to use your hands, just make sure to occasionally wet your hands with cold water to prevent the dough from sticking to your hands. Knead the dough until thoroughly combined and workable- about five minutes with a dough hook on medium speed or 10 minutes with your hands.
Rest, Rise & Braid
When the dough is well kneaded and slightly sticky, it's time to proof it! Proofing is a baking step during the process of making a yeast bread where the dough is allowed to rest and rise before baking. This timeframe is usually 60-90 minutes, and in that time the dough doubles in size. This is because the dough ferments and gases are produced, which leavens the dough. Leavening is where a raising agent in a dough creates a foamy action that lightens the mixture. To best support and ensure this step is successful, the dough will need to be covered and rest in a warm area.
First, I warm a large glass bowl in the microwave or wash it under hot water. Glass or metal are best to use as they retain heat and the dough needs a warm environment. Then, I grease the bowl and transfer the ball of dough to the warm bowl. You can cover it with a tea towel or Saran Wrap- personally, I like to use Saran Wrap. Finally, place the bowl in a warm environment. Some ovens have a proofing setting, but if yours does not then you can use a warm sunny spot. Allow the dough to rest for one hour. After the allotted time, transfer to a flour dusted workspace.
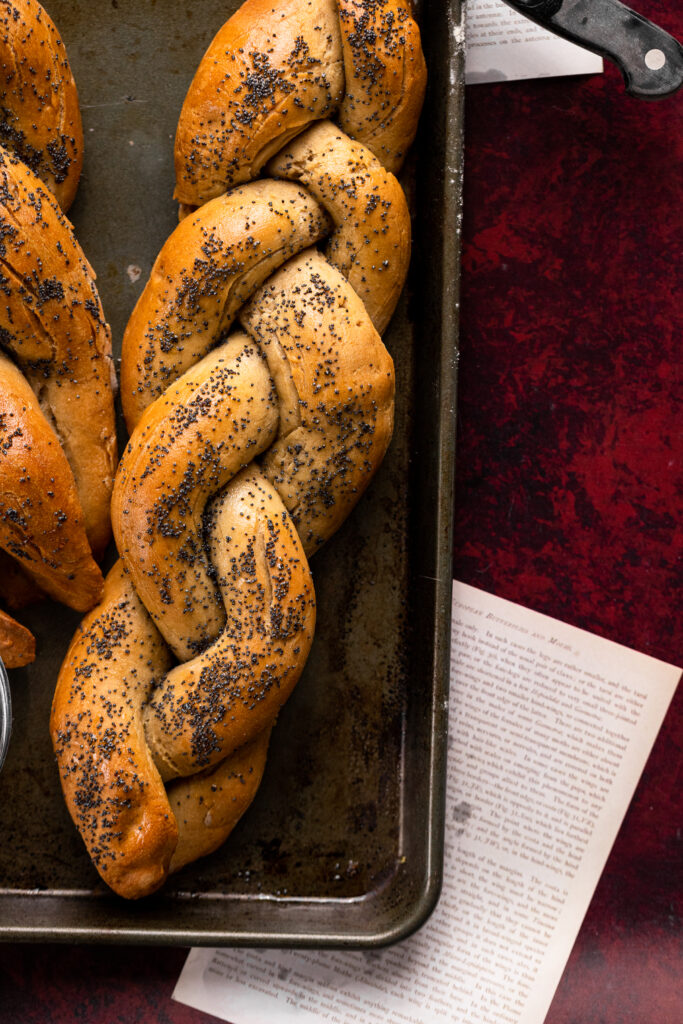
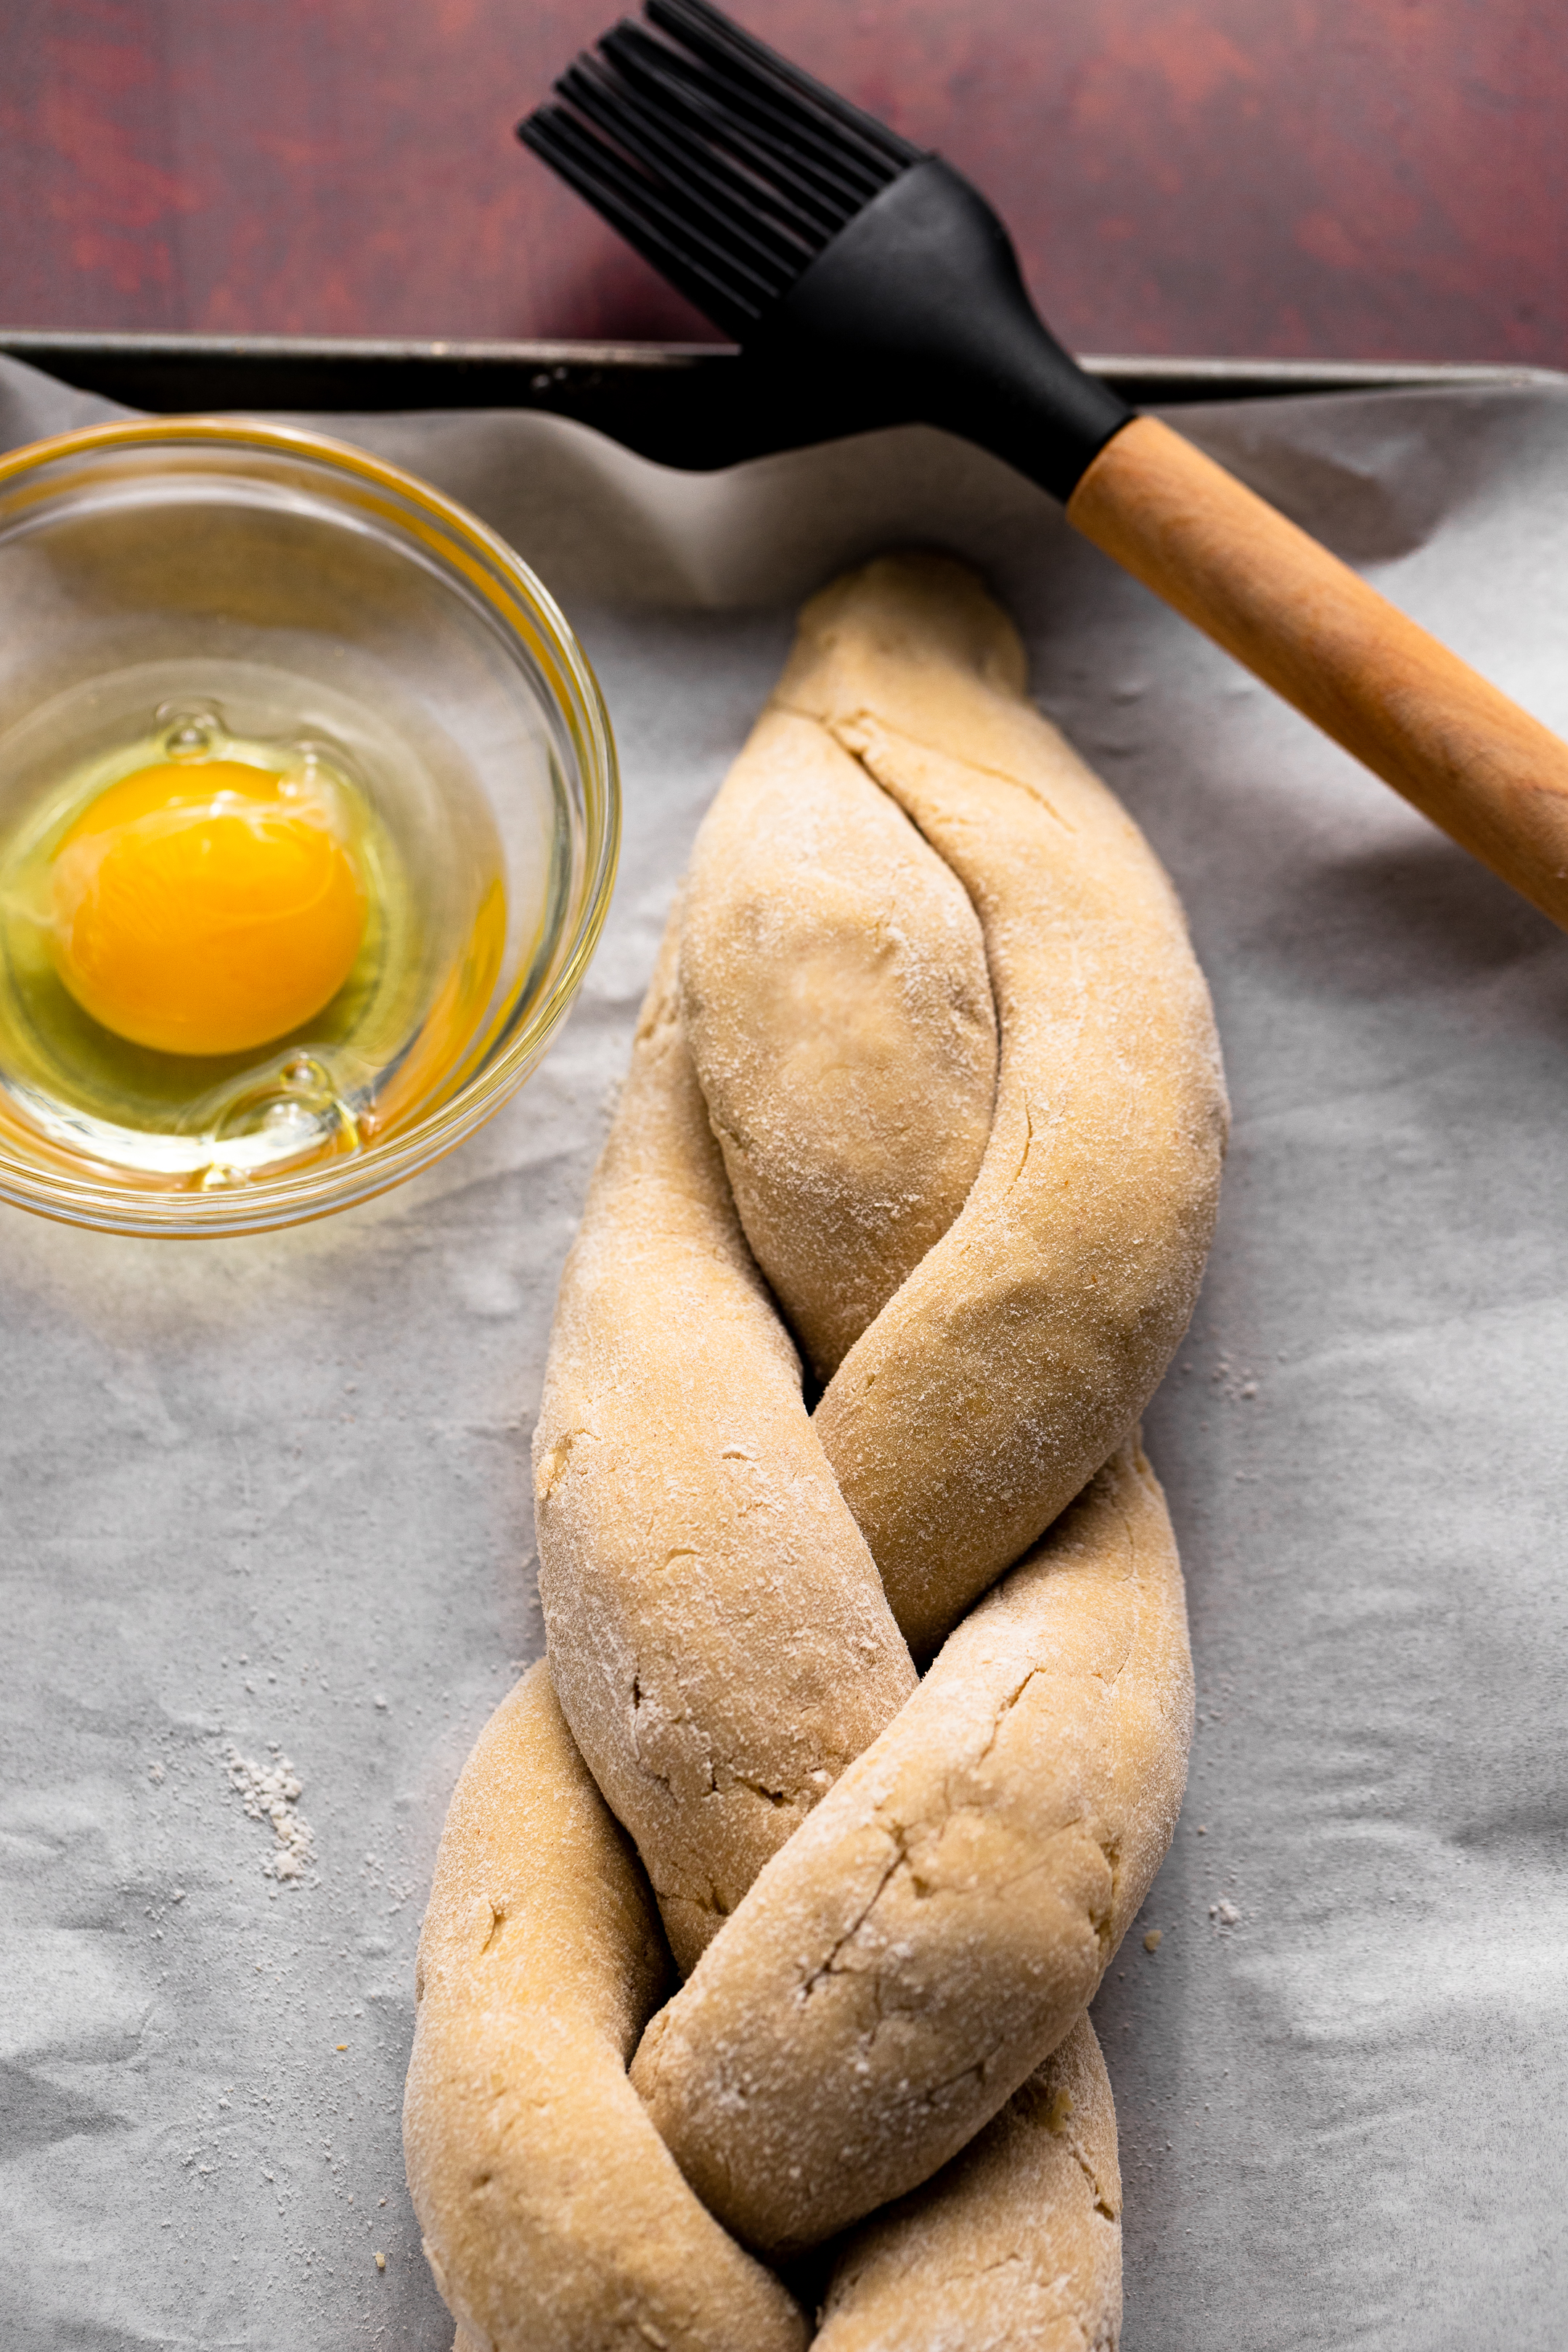
Now it's time to braid the challah bread! As this recipe makes two loaves, divide the dough into two equal parts, then split each into three balls. Place the three balls of dough on flour dusted surface. Then, use your hands to roll out each dough ball into a long rope. Roughly, the dough should be about eight to ten inches long and about two inches thick. Before starting the braid, transfer the dough to a baking sheet. It's best to do this now so you don't have to move the braid later. Then start the braid by wetting your hands and pinch together one end of each coil. Once connected, start the strand braid by rotating each rope of dough over the other until you reach the end. Do so very gently and slowly! To finish the braid, connect the three pieces of dough at the other end. Next, mix together one room temperature egg and a tablespoon of water. Brush the challah braid with the egg wash before sprinkling one tablespoon of poppy seeds on top of the dough. Finally, repeat this process with the other dough!
Time to Cook the Challah Bread
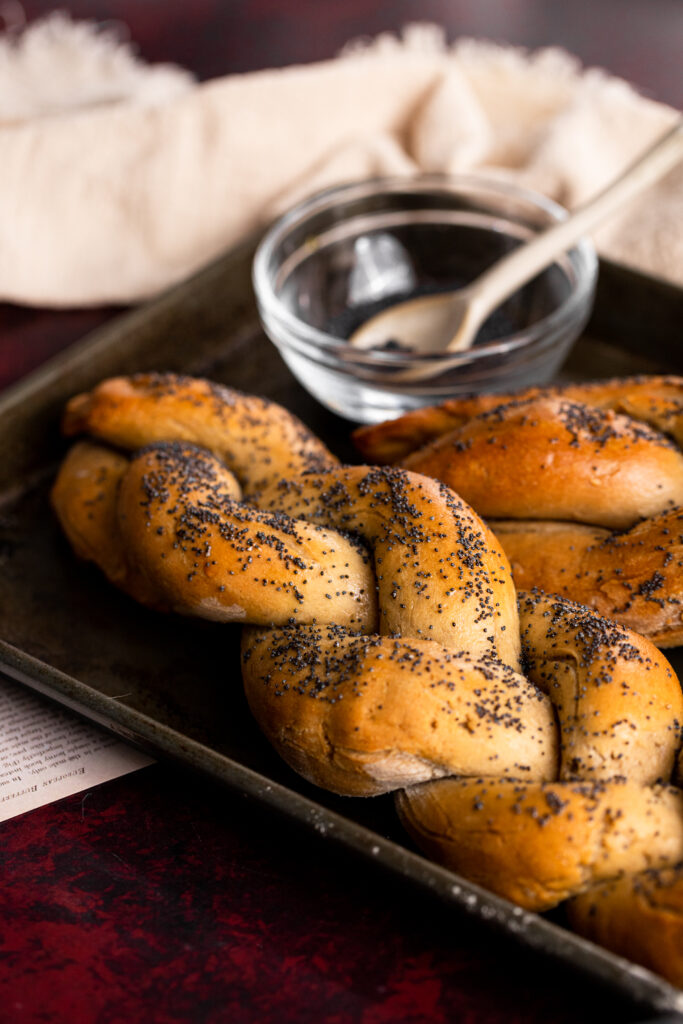
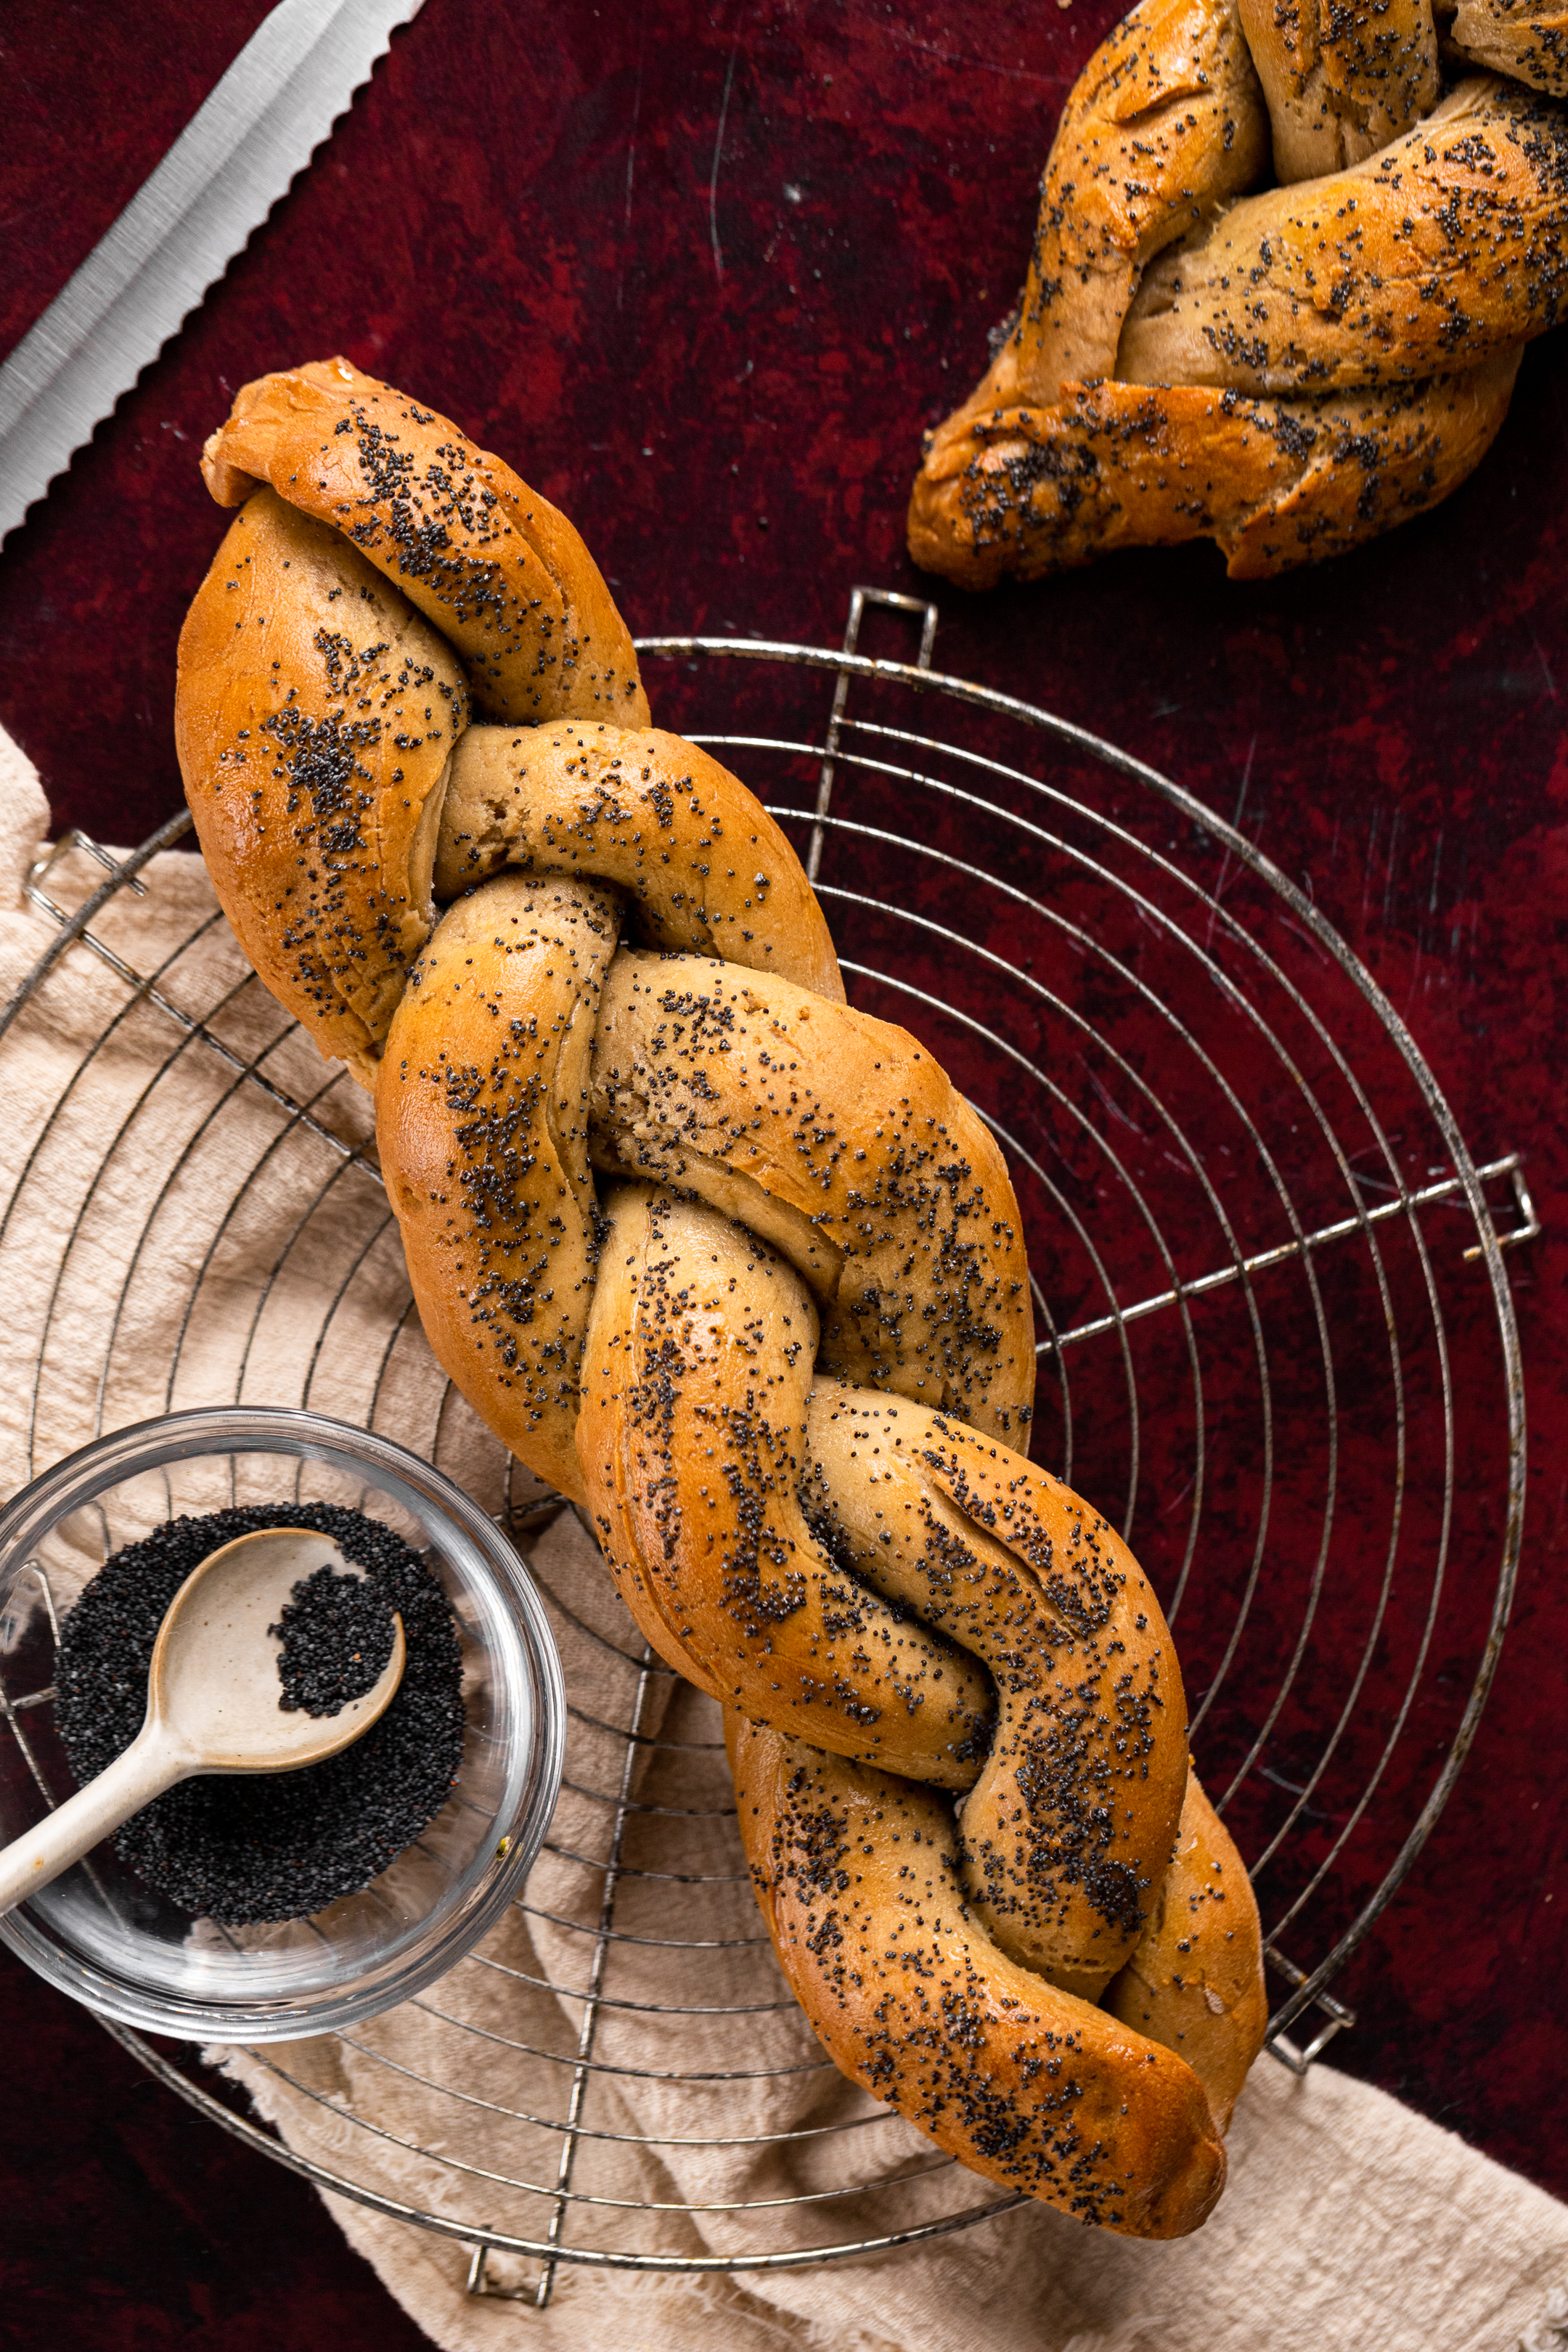
Once both loaves of challah bread are ready, preheat the oven to 200 degrees Fahrenheit. Once the oven has reached the desired temperature, turn the oven off and place the baking sheets with the challah bread in the oven. This process allows the bread to rise again in a warm, controlled area. This time though, it'll only need 30 minutes. So, after the allotted time, you can preheat the oven to 350 degrees Fahrenheit. Bake the challah bread for 20-25 minutes until golden brown. Then, turn off the oven and allow the challah bread to cool on a wire rack. I like to finish the challah bread by brushing it with olive oil. Then all that's left to do is enjoy it!

The Best Gluten-Free Challah Bread
Course: Recipes, Sides, AppetizersDifficulty: Medium2
Loaves30
minutes25
minutes90
MinutesTexture so good, you wouldn't know it's gluten-free if you didn't make it!
Ingredients
¾ cup warm water
4 tablespoons cane sugar
1 packet of active dry yeast
1 cup of dairy-free yogurt
1 teaspoon of apple cider vinegar
½ cup canola oil
⅓ cup maple syrup
2 large eggs, beaten
5 cups King Arthur's Gluten-Free All-Purpose Flour, plus more for dusting
½ tablespoons psyllium husk powder
1 ½ teaspoon baking powder
1 teaspoon of xanthin gum
1 ½ teaspoons salt
½ teaspoon baking soda
- For the Egg Wash
1 egg, beaten
1 tablespoon of water
2 tablespoons of poppy seeds
Directions
- Add the water to a glass bowl and heat in the microwave for 40 seconds, then stir in one tablespoon of cane sugar until dissolved
- When the water is 105-110 degrees Fahrenheit, pour in the active yeast and stir to combine. Then, allow to sit for 8 minutes until activated (once activated, it'll give off a wheat-like aroma and become foamy on the top).
- Add the Greek yogurt, apple cider vinegar, canola oil, maple syrup and beaten eggs to the large bowl of a stand mixer
- Once the yeast has activated, pour the mixture into the wet ingredients and use a paddle attachment to combine on low speed for one minute
- In a large bowl, combine the gluten-free flour, psyllium husk powder, xanthin gum, three tablespoons of sugar, salt, baking powder, and baking soda
- Slowly sift half of the dry ingredients at a time into the bowl, mixing between on medium speed to incorporate
- When well combined and a soft dough has formed (about three minutes), scrape down the sides with a spatula before switching the paddle attachment for a dough hook
- Allow the dough hook to knead the dough for five minutes on low speed. Then, the dough should be slightly sticky but a firmer ball of dough.
- Warm a large glass bowl in the microwave for 30 seconds, then grease with oil. Transfer the ball of dough to the bowl before covering with a tea towel or Saran Wrap. Place in a warm spot to proof for one hour.
- After the allotted time, the dough should be almost double in size. Dust a work space with flour and oil your hands before transferring the dough to the work space. Lightly dust the top of the dough before kneading for three minutes.
- Next, divide the dough into two equal parts. Then, split each half into three balls of dough.
- Place the three balls on the prepared work space, and gently roll each ball into a long rope (roughly 10" long and an 1.5-2" thick). Place the three ropes on a large baking sheet lined with parchment paper before braiding.
- To start the braid, wet your hands with cold water and pinch together one end of each coil
- Once all three ropes are joined at the top, start the braid by rotating the three ropes over one another. Finish by connecting the three pieces at the other end and pinching again.
- Repeat this braiding process with the other half of dough
- Then, whisk the egg and water to create an egg wash. Use a silicone brush to brush each challah bread with the mixture before sprinkling with one tablespoon of black poppy seeds
- Preheat the oven to 200 degrees Fahrenheit. Once the oven reaches the desired temperature, turn the oven off and immediately place the prepared baking sheets with the challah bread inside the oven for 30 minutes to rest & rise.
- After 30 minutes, preheat the oven to 350F and bake the challah bread for 20-25 minutes
- Allow to cool for 15 minutes before enjoying
Recipe Video
Notes
- Keep in an air tight container or ziplock bag for up to five days.


[…] Luckily, I have a gluten-free challah bread recipe just for you! Not only does it yield two loaves- enjoy one loaf and use the other for the stuffing- but there’s no rise time so it’s easy to make! Check out the full recipe HERE. […]