This signature summer dessert features ripe cherries and a homemade gluten-free galette!
Jump to RecipeWhy Summer is the Perfect Season for Galettes
The dessert of the summer is without a doubt the galette. From fresh peach galettes to the signature cherry galette, galettes have taken social media by storm. And for a good reason, they're delicious and a unique alternative to the classic pie!
Even at the beginning of fall you'll see apple or plum galettes, but summer really is the perfect season for this tasty treat. Why? Because galettes are a great way to showcase all of the fresh produce that summer has to offer! Not to mention, they bake in less than thirty minutes; which, means less time in the kitchen for you.
The Gluten-Free Crust
It's time to make the gluten-free galette dough. First, combine cold water and apple cider vinegar. Then, we're going to place the mixture in the freezer. This is an important step as we want the mixture cold when we later combine it with the dry ingredients. Next, sift the gluten-free baking flour, almond flour, xanthan gum, sugar, and salt into a large bowl. The combination of gluten-free baking flour and almond flour here provides the perfect crust that won't crumble. Also, just a touch of xanthan gum will go a long way, as it acts as a binder. Now it's time for the butter! Chop one stick of cold butter into small pieces, then add it to the flour mixture. Next, use your hands to combine the flour and butter. At first this may feel uncomfortable, but after a few minutes the butter will begin to break down.
Next, we're going to add the water mixture one tablespoon at a time. Between tablespoons, use a fork to combine the ingredients. This gives our dough time to thoroughly absorb the ice water. Continue this process until you've add all of the water mixture. Then, use your hands to form the dough into a disk-like shape. Once the dough has molded to your liking, wrap it plastic wrap and refrigerate for one hour.
After one hour, dust a surface with flour and roll out the dough into a circle. Finally, it's time to add our toppings!
The Cherry Filling
To make the cherry filling, start by adding 4 cups of pitted and halved cherries to a medium-sized mixing bowl. Then, add a fourth cup of pure cane sugar, a fourth cup of lemon juice, 4 tablespoons of cornstarch, 2 teaspoons of vanilla extract, a teaspoon of cinnamon, and a pinch of salt. Mix this together, then set to the side for 15 minutes. After 15 minutes, drain any liquid from the cherries.
Finishing the Galette
The galette is almost done! Once you've drained the liquid from the cherries, add them to the galette. Make sure to leave about an inch border around the galette, as this will fold over the cherries.
After the cherries have been added, fold the crust over the last layer of cherries. Then transfer the galette to the freezer for 30 minutes. Freezing the galette before cooking it prevents the dough from getting soggy.
While the galette is freezing, preheat the oven to 400 degrees and place the baking sheet in the oven. It's important to preheat the baking tray to allow the galette to get evenly cooked.
After 30 minutes, transfer the galette to the prepared baking sheet. Before placing the galette in the oven, brush one whisked egg over the galette crust to prevent it from burning. Then season the crust with about one tablespoon of pure cane sugar. Place the galette in the oven for 15 minutes, then reduce the heat to 350 degrees and continue baking for another 40 minutes.
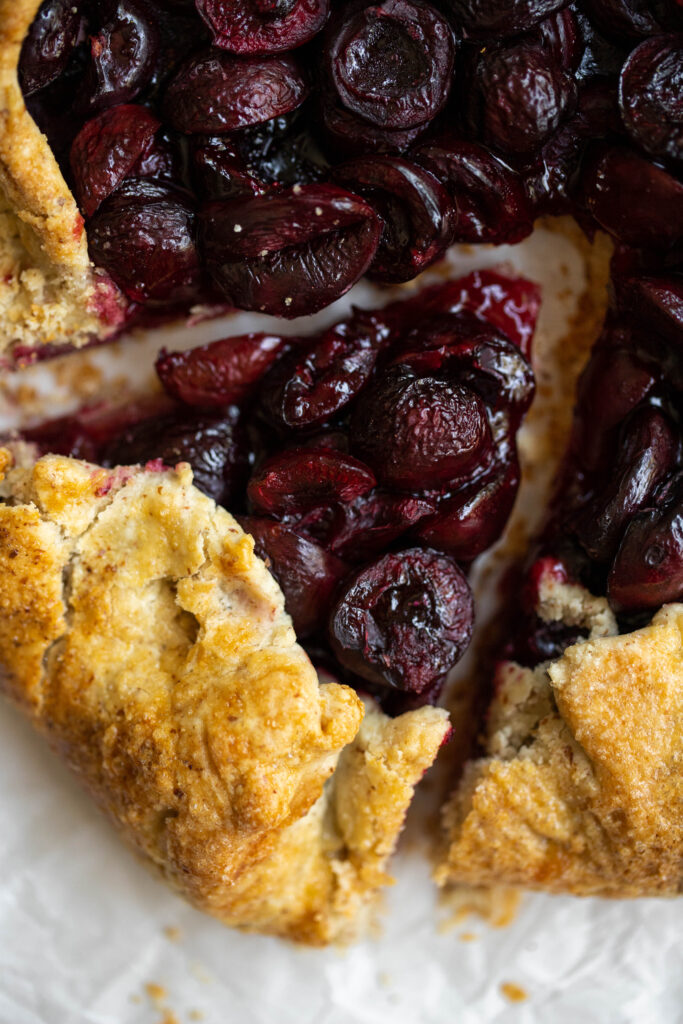
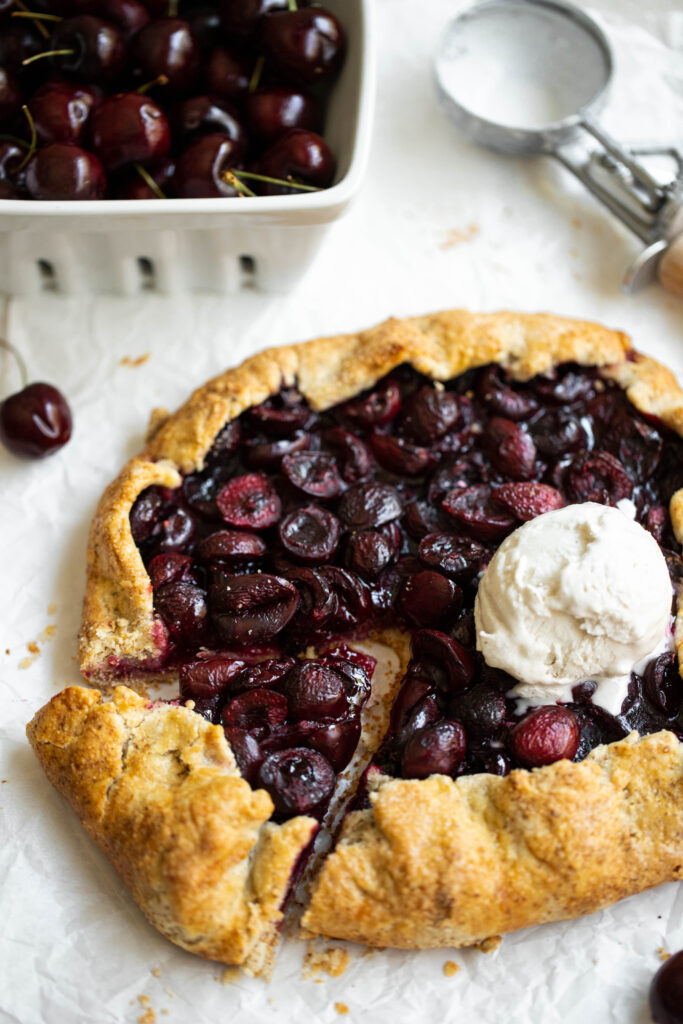
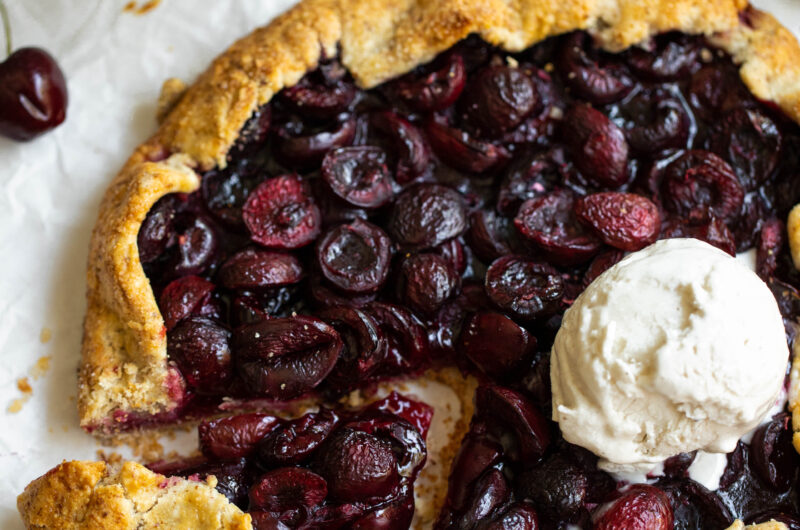
After 40 minutes, allow the galette to cool for 10-15 minutes. Then, add a scoop of vanilla ice cream and fresh cherries to enjoy with your gluten-free cherry galette!
Gluten-Free Cherry Galette
Course: RecipesDifficulty: Medium6
servings30
minutes55
minutes90
MinutesGet your forks ready for this delicious Gluten-Free Cherry Galette!
Ingredients
- For the Gluten-Free Crust
½ cup cold water
1 tablespoon apple cider vinegar
1 ¼ cups gluten-free baking flour
¼ cup + 2 teaspoons of almond flour
¾ teaspoon of xanthan gum
1 tablespoon cane sugar
Pinch of salt
1 stick of unsalted butter
- For the Cherry Filling
4 cups of cherries, pitted and halved
¼ cup of pure cane sugar
¼ cup of lemon juice
4 tablespoons of cornstarch
2 teaspoon of vanilla extract
1 teaspoon of cinnamon
A pinch of salt
- For the Egg Wash
1 room temperature egg, whisked
1 tablespoon of pure cane sugar
Directions
- For the Gluten-Free Crust
- Mix together the cold water and apple cider vinegar, then place in the freezer for 10 minutes
- In another bowl, sift the gluten-free flour, almond flour, xanthan gum, sugar, and salt
- Add the stick of butter and toss with the dry ingredients
- Use your hands to pinch the butter and flour mixture together until mixed
- Add the water and vinegar mixture, 1 tablespoon at a time, mixing the dough with a fork between adding tablespoons
- Once all of the water and vinegar mixture has been added, shape the dough into a disk
- Cover the disk with Saran Wrap and refrigerate for one hour
- For the Cherry Filling
- Add the cherries, cane sugar, lemon juice, cornstarch, vanilla extract, cinnamon, and salt to a large mixing bowl
- Allow the cherries to sit for 15 minutes, then drain any liquid
- For the Egg Wash
- Whisk one room temperature egg in a small bowl
- To Assemble the Galette
- After one hour, preheat the oven to 400 degrees and line a baking sheet with parchment paper
- Add a handful of gluten-free flour to a butcher block and roll the dough into a circle
- Then, add the cherry filling to the galette. Work from the inside out, and remember to leave 2 inches of dough to fold over the outside of the tomatoes
- Once you've added the cherries, fold the dough over the outside
- Freeze the galette for 30 minutes to bake more evenly
- While the galette is in the freezer, preheat the baking sheet to prevent the middle of the galette from getting soggy
- After 30 minutes, transfer the galette to the preheated baking sheet
- Then, brush the dough that's been folded over the outside of the cherries with the egg wash and sprinkle the cane sugar over the egg wash
- Bake at 400 degrees for 15 minutes, then reduce the heat to 350 degrees and bake for 40 minutes. If the crust begins to burn, cover with foil
- Allow to cool for 15 minutes, then add a scoop fo vanilla ice cream with fresh cherries and enjoy!
Notes
- Refrigerate the homemade rosemary simple syrup up to 10 days


Leave a Reply